Maintaining Aloe Vera Health
Ensuring the vitality of your Aloe Vera plant hinges on proper care and attention. Key aspects include a suitable watering regimen and recognizing signs of dehydration.
Proper Watering Schedule
Watering your Aloe Vera plant correctly is essential. Aloe Vera plants should be watered roughly every two to three weeks, with watering being cut back during winter months. This schedule helps to mimic their natural environment and prevents overwatering. Aloe plants flourish with minimal watering, typically about once every two weeks.
It’s crucial to use well-draining soil and pots with adequate drainage to avoid waterlogging, which can lead to root rot. Aloe Vera requires bright light but not direct sunlight, which complements its water needs (Quora).
Signs of Dehydration
Understanding the indicators of dehydration can help prevent your Aloe Vera plant from suffering. Dehydration is evidenced by:
| Symptom | Description |
|---|---|
| Wilting Leaves | The leaves lose their firmness and droop. |
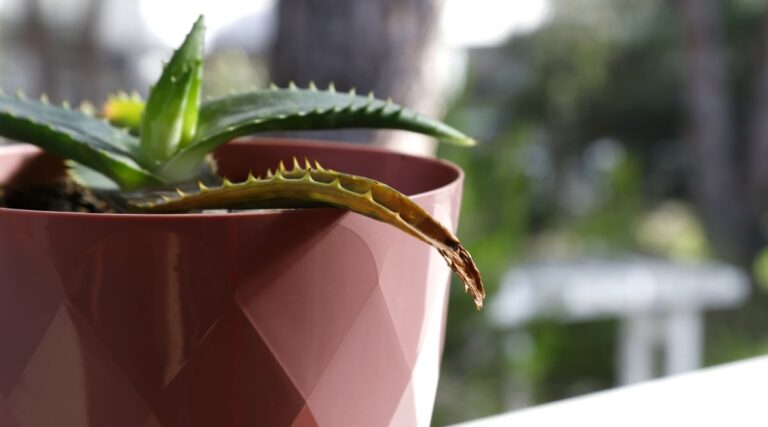
| Brown Tips | The tips of the leaves turn brown and dry out. |
If you notice these symptoms, it may be a sign that your Aloe Vera plant needs watering. Promptly adjusting your watering schedule can revive your plant and restore its health.
For more detailed care instructions, visit our page on aloe vera plant care. If you observe any of these dehydration signs, refer to our guide on aloe vera plant drooping for further assistance. To avoid common watering pitfalls, read about aloe vera plant overwatered scenarios.
Preventing Aloe Vera Issues
In cultivating a healthy aloe vera plant, understanding the risks associated with common issues like overwatering and improper sunlight exposure is crucial. These factors are essential to keeping your aloe vera thriving and avoiding the dreaded signs that an aloe vera plant is dying.
Overwatering Risks
Overwatering is a frequent mistake that can lead to severe issues such as root rot. Root rot is characterized by mushy and brown roots and can be fatal to your plant (Greg App). Aloe plants are drought-tolerant and require a balance between neglect and attention. Ensuring the soil dries out completely between waterings helps prevent waterlogged conditions.
| Watering Schedule | Description |
|---|---|
| Overwatering | Risk of root rot, spotting and browning of leaves, fungus gnats, plant death (Pretty In Green) |
| Underwatering | Risk of dehydration, leaf curling, browning tips |
An effective method is slow, deep watering to promote substantial root development. When repotting, using soil that enhances drainage, such as cactus or succulent blends, can significantly reduce the overwatering risk. For more on suitable soil mixtures, check out aloe vera plant potting soil.
Sunlight and Temperature Needs
Aloe vera plants thrive in bright, indirect sunlight. Too much direct sun can scorch the leaves, while insufficient light can lead to leggy growth and poor health. Positioning your plant in a bright spot that receives filtered light is ideal. You can read more about light requirements in our aloe vera plant light requirements article.
Temperature plays a crucial role as well. Aloe vera plants prefer temperatures between 55°F and 80°F. Extreme temperatures can stress the plant, leading to leaf discoloration and stunted growth. For detailed guidance on managing temperatures, especially in winter, see aloe vera plant care in winter.
| Condition | Ideal Range |
|---|---|
| Sunlight | Bright, indirect light |
| Temperature | 55°F to 80°F (Greg App) |
By maintaining an optimal watering schedule and ensuring proper sunlight and temperature, you can prevent common issues and keep your aloe vera plant healthy. Explore related tips for overall aloe vera plant care and specific problems like aloe vera plant drooping and aloe vera plant brown tips.
Addressing Aloe Vera Problems
Ensuring the health of your aloe vera plant involves recognizing and addressing common issues like root rot and pest infestations. Taking the right steps can help revive a struggling plant.
Root Rot Concerns
Root rot is a serious condition that can be fatal for your aloe vera. This issue is primarily caused by overwatering and poorly drained soil. Identifying and treating root rot early is essential.
Symptoms of Root Rot:
- Mushy, brown, or black roots
- Brown, water-soaked spots on leaves
- Leaves becoming soft, oozy, and shriveled (Quora)
Steps to Address Root Rot:
- Remove Affected Roots: Carefully dig up the plant and inspect the roots. Trim away any mushy or brown parts with disinfected tools to prevent the spread of fungal disease.
- Allow Roots to Callous: Let the healthy, trimmed roots dry out and callous for a few hours.
- Repot in Fresh, Well-Drained Soil: Use a cactus or succulent mix to ensure proper drainage. This can help prevent future issues with root rot.
For detailed steps on saving an aloe plant from overwatering, refer to our article on aloe vera plant root rot.
Pest Infestations
Pests can also pose a significant threat to your aloe vera. Common pests include aloe mites, aphids, and mealybugs. These pests can cause damage to your plant by feeding on its tissues.
Common Pests:
- Aloe Mites: Cause growth deformities, such as galls.
- Aphids: Small, green bugs that cluster on new growth.
- Mealybugs: Small, white, cotton-like insects.
Steps to Address Pest Infestations:
- Remove Pests Manually: Use a cotton swab dipped in rubbing alcohol to remove visible pests.
- Clean the Leaves: Rinse the leaves with water to remove any remaining pests.
- Use Neem Oil: Apply neem oil to the leaves to treat adult bugs and slow down reproduction.
For more tips on preventing and treating pest infestations, visit our article on aloe vera plant care.
Summary of Addressing Aloe Problems:
| Issue | Symptoms | Solutions |
|---|---|---|
| Root Rot | Mushy, brown roots, leaves wilting | Trim affected roots, callous roots, repot in well-drained soil |
| Pest Infestations | Deformed leaves, sticky residue | Manually remove pests, rinse leaves, use neem oil |
Maintaining a vigilant approach and taking prompt action can significantly improve the health of your aloe vera plant. For further guidance, explore our resources on aloe vera plant brown tips and aloe vera plant drooping.
Saving a Dying Aloe Vera
Root Rot Recovery
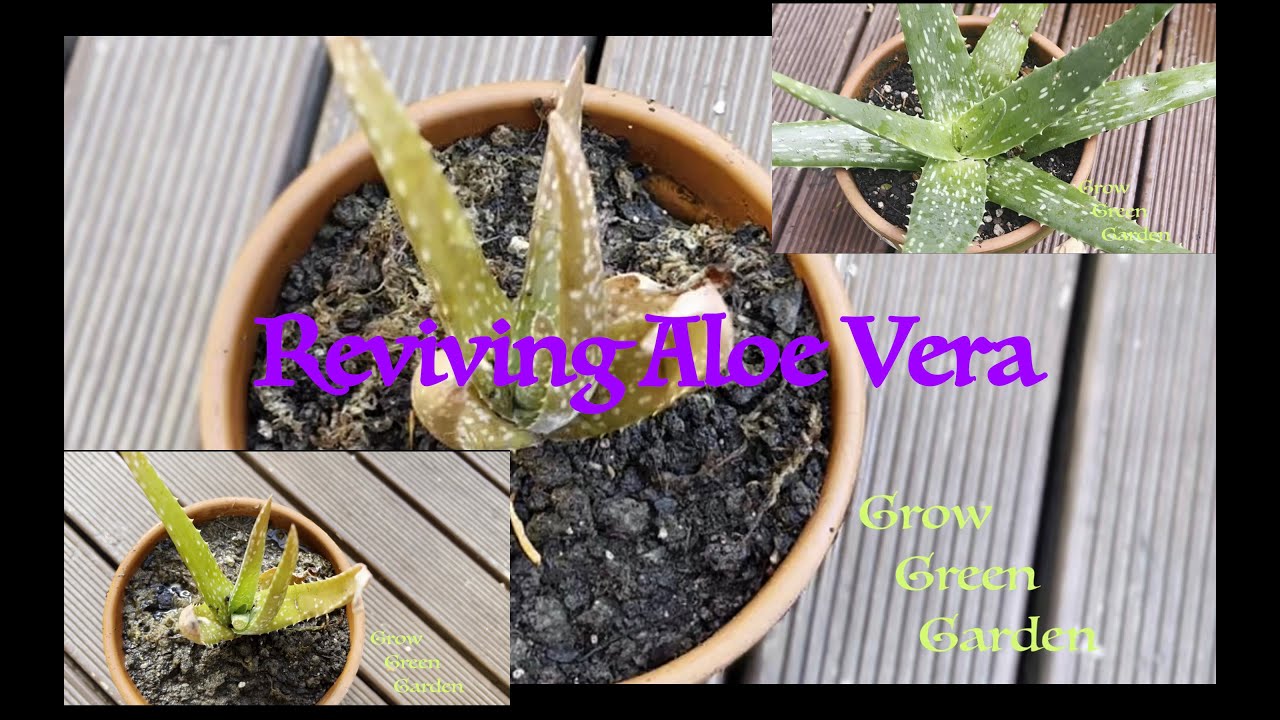
Root rot in an aloe vera plant often arises from overwatering and poorly drained soil. It causes roots to become soggy, mushy, and black. If your aloe vera plant is suffering from root rot, quick action is required to save it.
First, carefully remove the plant from its pot and inspect the roots. Look for roots that are soft, mushy, or black. These are signs of rot and will need to be trimmed away:
- Gently trim off the affected roots using sterile scissors or pruning shears.
- Allow the trimmed roots to callous by placing the plant in a dry, shady spot for a couple of days.
- Repot the plant in fresh, well-draining potting soil formulated for succulents and cacti.
Signs of an overwatered aloe plant to watch out for include:
- Soft and mushy roots.
- Leaves wilting and turning yellow or brown.
- A collapsing or rotting stem.
- Waterlogged soil.
Understanding these symptoms can help prevent root rot. For more information, you can refer to our article on aloe vera plant root rot.
Repotting Tips
Repotting your aloe vera plant can provide a fresh start and aid its recovery. Here are some essential tips for repotting:
- Choose the Right Pot: Opt for a pot that allows for proper drainage. Terracotta pots are highly recommended for their breathability and drainage capabilities (Gardener Basics).
- Select Well-Draining Soil: Use a potting mix tailored for succulents and cacti. This type of soil ensures proper drainage and avoids waterlogging, a common cause of death for aloe plants. More guidance on soil selection can be found in our article on aloe vera plant potting soil.
Repotting should be approached cautiously if your aloe vera is already sick. Avoid repotting a stressed aloe as it could further distress the plant. Instead, consider allowing the soil to dry completely and providing more light. Healthy new growth indicates the aloe is ready to be repotted for further stability (Quora).
Repotting Schedule:
| Step | Action |
|---|---|
| 1 | Choose a pot with drainage |
| 2 | Use succulent/cacti potting soil |
| 3 | Allow roots to callous if trimmed |
| 4 | Ensure soil is dry before initial watering |
For more detailed guidance and tips on managing aloe vera plants, visit our section on aloe vera plant care.


