ZZ Plant Pot Size
Choosing the Right Pot Size
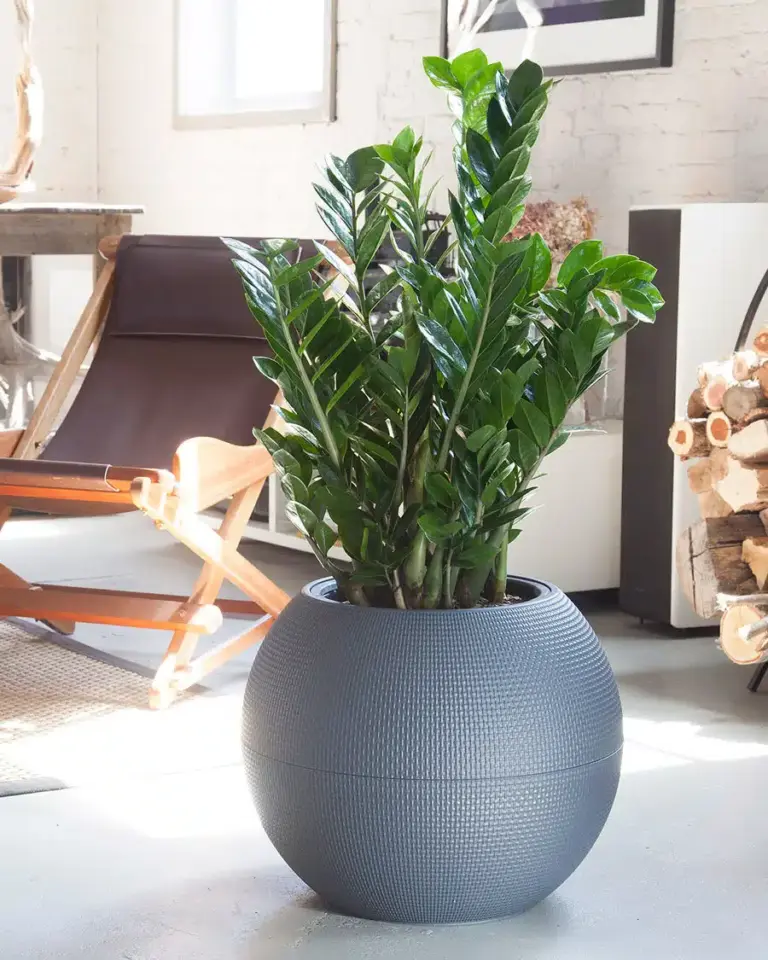
Picking the perfect pot for your ZZ plant is kinda like finding just the right size of shoes. Too tight, the roots feel crammed and grumpy. Too roomy, and you’re drowning them, both literally and figuratively, in all that soggy soil. Aim for a pot that’s only about an inch or two bigger than the one they’re currently calling home. It’s like upgrading their tiny apartment without forcing them to move into a mansion that they can’t afford.
| Pot Size | What’s Going On? |
|---|---|
| Same Size | Keeps Root Drama Minimal |
| 1″ Bigger | Gradual Root Expansion |
| 2″ Bigger | Let’s Roots Stretch Comfortably |
With the right pot, you can dodge the hassle of overwatering and tangled roots. If you’re pondering over pot sizes, our article on ZZ Plant Repotting has you covered with the nitty-gritty details.
Impact of Pot Size on Growth
The pot your ZZ plant sits in plays a big role in its growth spurt and general well-being. A tight squeeze could leave the roots gasping for room and unable to drink up the good stuff—water and nutrients. Swing too far the other way, with a super-sized pot, and the plant’s energy focuses on expanding its roots rather than flaunting those glossy green leaves.
An ideally sized pot lets your plant juggle growth above and below the soil like a pro. It ensures both root space and leaf lushness are in check. Plus, the right fit keeps the soil breathing and stops water from bogging down, which could lead to the dreaded root rot.
Quick pointers:
- Opt for a pot that’s 1-2 inches wider for balanced vibes.
- Beware of oversized pots; they can make your plant’s roots waterlogged and sad.
- Make sure there are enough drainage holes to prevent the water from overstaying its welcome.
Curious about more ZZ antics or how not to mess things up? Check out our Common Mistakes to Avoid. Healthy care, paired with the right pot choice, can really light up your ZZ plant’s life.
Repotting ZZ Plants
When to Repot
Your ZZ plant won’t thrive forever in its original pot. Every couple of years (usually 2-3), it gives a little nudge that says, “Hey, I need more room!” Here’s how you know it’s time:
- Roots start peeking through drainage holes like they’re secretly trying to escape.
- The rhizomes act like they’re ready to burst out, bending or squishing the pot like a strongman with a can of soda.
- The plant, looking imprisoned, needs a makeover with new soil and a fresh nutrient infusion.
Spring and summer are the sweet spots for a drama-free repotting event, keeping stress levels low for your leafy buddy.
Repotting Guidelines
Give your ZZ plant the VIP treatment with these steps for a smooth move to its new home:
-
Pick the Right Pad: Your ZZ needs a pot that’s just a little larger than before—around 1″ to 2″ more space is perfect. It helps dodge the nastiness of soggy, rotten roots (My City Plants).
-
Let It Breathe: Drainage holes are a must-have, keeping excess water from turning into a swampy disaster.
-
Dirt That Works: Well-draining potting soil is like a comfy mattress for your plant. Check out our thoughts on the best ZZ plant potting soil.
-
Gentle Eviction: Carefully coax your plant out of its old pot. Be kind – it’s had a rough day.
-
Root Checkup: Look for anything that screams “Help!”—like rotting or sickly roots—and give them a trim.
-
Settle In: Center the plant in its fancy new pot, packing in fresh soil around the sides. Make sure it’s at the same level it liked in the old pot.
-
Water’s a Friend, Not a Flood: A little water to help it settle in, but don’t drown it. Easy does it as it gets comfy in its new digs.
| Step | Action |
|---|---|
| 1 | Pot up 1”-2” larger |
| 2 | Check for drainage |
| 3 | Use top-shelf soil |
| 4 | Remove gently |
| 5 | Spot and snip bad roots |
| 6 | Center it proudly |
| 7 | Sprinkle with water |
For more tips on a content ZZ plant, peek at our indoor care guide and our thoughts on preventing root rot. Happy plant parenting!
Soil Requirements for ZZ Plants
Getting the dirt on ZZ plants (pun intended), picking the right soil can make or break their mojo. Forget store-bought drama; it’s all about creating the perfect underground oasis for your plant buddy.
Well-Draining Soil
ZZ plants hate soggy feet. Think of them like cats that detest baths. Standard dirt just doesn’t cut it—it’s too clingy. Chuck some perlite or sand into the mix, and suddenly the roots think they’re on a Californian beach vacation (Housing.com).
For a safer bet, grab a cactus and succulent mix next time you’re out. These mixes know how to say “hasta la vista” to excess water, and that’s exactly what keeps ZZ roots smiling (My City Plants).
Soil Mix Recommendations
Picking the right mix is like being the master chef of the plant world. Here’s the recipe you can rely on:
| Component | Ratio | Purpose |
|---|---|---|
| Cactus Soil | 60-70% | Main gig, keeps things dry yet comfy |
| Perlite | 20-30% | A breath of fresh air for roots |
| Coarse Sand | 10-20% | Makes soil feel like a VIP lounge |
Blend these beauties together, and you’ve got yourself a perfect pad for ZZ plants. They’ll grow roots without getting stuck in the mud. Curious to learn more? Check out ZZ plant potting soil.
A little nutrient boost never hurt nobody, so ring in fertilizer season by dialing it down to half-strength. Your ZZ will chow down on the essentials without going overboard (Housing.com).
Want to dodge plant 911 situations like root rot? Our Repotting ZZ Plants section’s got the lowdown. Plus, check out how your leafy pal likes its beams on our page about ZZ plant light.
Tips for Healthy ZZ Plants
Proper Care Practices
-
Watering Schedule: So, here’s what I’ve learned about watering my ZZ plant – less is more. When it’s hanging out inside, I only water it once the top inch of soil feels dry. During the summer, once a week does the job, but when winter hits, we’re talking once a month.
-
Soil Needs: To help my ZZ plant rock its growth, I stick with soil that loves to drain well. Throwing in some perlite or sand amps up the drainage game. I’m not big on fertilizing all the time, but when I do during the growing season, my plant seems to vibe with it.
-
Repotting: Every couple of years, I notice my ZZ plant gets a bit cramped, so I whisk it to a new pot. This little move not only gives its roots some breathing space but also provides some fresh soil, keeping the plant healthy and happy for the long haul.
Common Mistakes to Avoid
-
Incorrect Soil Choice: I’ve learned that not all soil is created equal. I swear by a cactus and succulent mix, with a sprinkle of perlite or coarse sand. This combo prevents the dreaded root rot by making the soil breathe better.
-
Forgetting About Soil Conditions: When my plant stopped growing, I realized the issue was rock-hard soil. Repotting with a looser mix helped my ZZ plant’s roots perk up and its overall health bounce back.
-
Choosing the Wrong Pot Size: Picking the right pot isn’t as simple as it sounds. I’ve found that a pot just an inch or two bigger than the last is perfect. It makes sure the water doesn’t hang around too long, which could cause root upset.
Stick to these handy tips and steer clear of usual missteps, and your ZZ plant is bound to flourish. If you’re curious about more on repotting ZZ plants or want to dive into ZZ plant potting soil, be sure to check out our other articles.


