Growing a Peace Lily in Water
Peace lilies are versatile plants that can thrive in water alone, adding an elegant touch to any indoor space. Let’s explore the plant characteristics and light requirements for successfully growing a peace lily in water.
Plant Characteristics
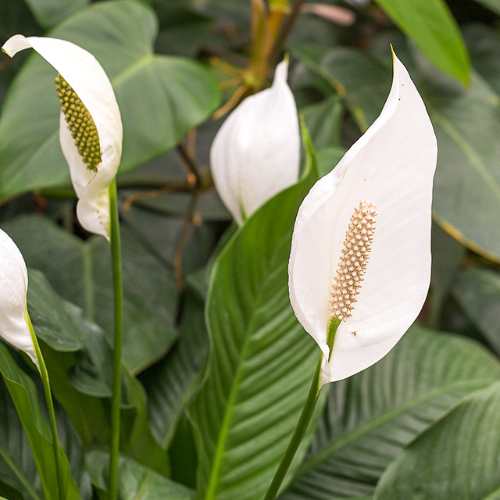
Peace lilies (Spathiphyllum), known for their lush green leaves and elegant white blooms, are often grown in water without any soil. The base of the plant is ideally suspended just above the water line, preventing the roots from becoming waterlogged and the leaves from constant wetness, which can lead to rot (Almanac). Here are some key characteristics:
- Scientific Name: Spathiphyllum
- Common Names: Peace lily, spathe flower
- Light Requirement: Low to bright indirect light
- Temperature: 65-80°F (18-27°C)
- Water Preference: Rainwater or lukewarm, soft water
Peace lilies are ideally kept in vases or transparent containers, allowing for easy monitoring of water clarity and root health. Ensuring the water is changed regularly and keeping the plant away from direct sunlight can prevent algae growth and maintain clear water (JayDeeMahs.com).
Light Requirements
Peace lilies are known for their ability to thrive in low to medium light conditions, making them popular for indoor settings. However, they can also benefit from bright, indirect light. The type of lighting will influence the frequency of water changes and overall plant health.
| Light Condition | Water Change Frequency | Algae Growth Risk |
|---|---|---|
| Low Light | Every 3-4 weeks | Low |
| Medium Light | Every 2-3 weeks | Moderate |
| Bright Indirect | Weekly | High |
Avoid placing peace lilies in direct sunlight as it can cause the water to overheat and encourage algae growth. Bright, indirect light ensures the plant photosynthesizes effectively without the risk of leaf burn.
For more detailed guidance on growing peace lilies and addressing common issues such as peace lily plant yellow leaves or peace lily plant drooping leaves, explore other sections on our site. Always remember to use peace lily plant fertilizer suited for water-grown plants to ensure optimum growth.
Pruning and Maintenance
Pruning is an essential part of maintaining the health and aesthetics of a peace lily plant. It encourages new growth and prevents the plant from wasting energy on yellow or damaged leaves. Understanding the importance of pruning and the proper tools and techniques to use is crucial for any gardener.
Importance of Pruning
Pruning your peace lily plant is necessary for several reasons:
- Health: Removing dead or yellowing leaves prevents the spread of disease and pests, allowing the plant to focus its energy on healthy growth.
- Aesthetics: A well-pruned peace lily looks more appealing, ensuring that it remains an elegant addition to your indoor garden.
- Growth: Pruning encourages new growth and can help the plant bloom more effectively. The best time to prune is early spring or summer before it begins to flower.
To understand more about maintaining a healthy peace lily plant, visit our guide on peace lily plant maintenance.
Tools and Techniques
Pruning a peace lily plant effectively requires the right tools and techniques. Follow these steps to ensure a successful pruning process:
- Sterilized Pruning Tools: Use sharp, clean scissors or pruning shears. Sterilize the tools with ethanol or isopropyl alcohol to prevent the spread of diseases.
- Gloves: Wear gloves for safety, as peace lilies can be mildly toxic to touch.
- Inspect the Plant: Identify and remove any yellow, brown, or damaged leaves. Check for signs of infection or pests.
- Cut at the Base: When trimming, cut the leaves as close to the base of the plant as possible.
| Item | Purpose |
|---|---|
| Pruning Shears/Scissors | Cutting leaves/stalks |
| Ethanol/Isopropyl Alcohol | Sterilizing tools |
| Gloves | Protection from mild toxins |
After pruning, it’s important to not over-prune. Retain some stalks and leaves to aid in quicker recovery and regrowth (Lively Root). For more information, visit our article on peace lily plant pruning.
For additional care tips post-pruning, ensure proper watering, avoid over-pruning, and regularly inspect the plant for any signs of distress or infection. Check out our page on peace lily plant care instructions for further guidance.
Transitioning from Soil to Water
Switching a peace lily from soil to water is a rewarding process, providing an elegant display in a vase. Follow the detailed steps below for a successful transition and ongoing care.
Planting Process
When transitioning a peace lily from soil to water, ensuring healthy roots is essential.
- Remove the Plant from Soil: Gently take the peace lily out of its pot. Be cautious to avoid damaging the roots.
- Clean the Roots: Rinse the roots thoroughly with lukewarm water to remove all soil. This prevents potential rot and bacterial growth.
- Prepare the Vase: Choose a vase that supports the plant without allowing the roots to dry or the leaves to touch the water surface.
- Positioning: Ideally, the base of the plant should be suspended above the water line. This avoids constant wetness at the base and leaves, reducing the risk of rot (Almanac).
Maintenance Tips
Proper maintenance is vital for a healthy peace lily in water.
- Water Changing Frequency: The water should be changed regularly to maintain clarity and prevent algae. For city tap water, change every 2-3 weeks.
| Water Type | Change Frequency |
|---|---|
| City Tap Water | Every 2-3 weeks |
| Filtered Water | Monthly |
| Distilled Water | Monthly |
- Lighting Conditions: Keep the plant out of direct sunlight. Place it in bright indirect light to prevent leaf drooping and promote growth (JayDeeMahs.com).
- Drafts: Avoid placing the peace lily in drafty areas as they are sensitive to fluctuations in temperature and air drafts.
- Fish as Natural Fertilizers: Some gardeners successfully use fish in the water setup. Fish act as a natural fertilizer, promoting health and growth without additional fertilizers (JayDeeMahs.com).
By understanding the specifics of transitioning and maintaining a peace lily in water, you ensure a thriving and elegant indoor plant. For additional tips, visit peace lily plant pruning and peace lily plant care instructions.
Propagating a Peace Lily
Propagating a peace lily plant can be an exciting way to expand your indoor garden collection. This section will cover two primary methods: the division method and water propagation.
Division Method
The division method is one of the most effective techniques to propagate a peace lily. By separating a mature plant into smaller sections, new, independent plants can be created with already growing roots, ensuring successful propagation.
Steps for Division Method:
- Preparation: Ensure the peace lily is adequately watered a few days before propagation. This helps reduce stress on the plant.
- Root Inspection: Gently remove the plant from its pot and inspect the root system. Look for natural divisions in the roots where the plant can be split.
- Separation: Using clean, sharp tools, carefully separate the sections ensuring each new plant has roots and foliage.
- Repotting: Plant the divided sections into individual pots with fresh soil. Water them lightly.
- Care: Place the new plants in an area with indirect sunlight. Monitor their health and water as necessary to help them establish.
The best time to divide a peace lily is during its active growing season, typically in spring or early summer (Lively Root).
Water Propagation
Water propagation is another method to grow peace lily plants. This process involves submerging the roots in water, allowing them to grow before eventually transferring the plants back into soil.
Steps for Water Propagation:
- Root Cleaning: Remove the plant from its soil and gently wash the roots to remove any dirt.
- Placement: Place the clean roots in a container filled with water. Ensure that only the roots are submerged, keeping the foliage above water.
- Monitoring: Change the water every other week to prevent stagnation and monitor root growth.
- Transitioning: Once substantial root growth is seen, the peace lily can be transferred back into soil for long-term growth.
| Propagation Method | Pros | Cons |
|---|---|---|
| Division Method | Established roots, high success rate | Needs mature plants, time-consuming |
| Water Propagation | Easy to monitor roots, less invasive | May need transition to soil, less nutrient-rich |
While water propagation is possible, peace lilies tend to thrive better when eventually transplanted into soil, providing them with essential nutrients for long-term health (Lively Root).
For more information on caring for your peace lily, including pruning and troubleshooting common issues, explore our related articles.
Troubleshooting Watering Issues
Signs of Overwatering
Overwatering a Peace Lily can lead to several issues that are detrimental to the plant’s health. Recognizing these symptoms early can help prevent serious damage.
-
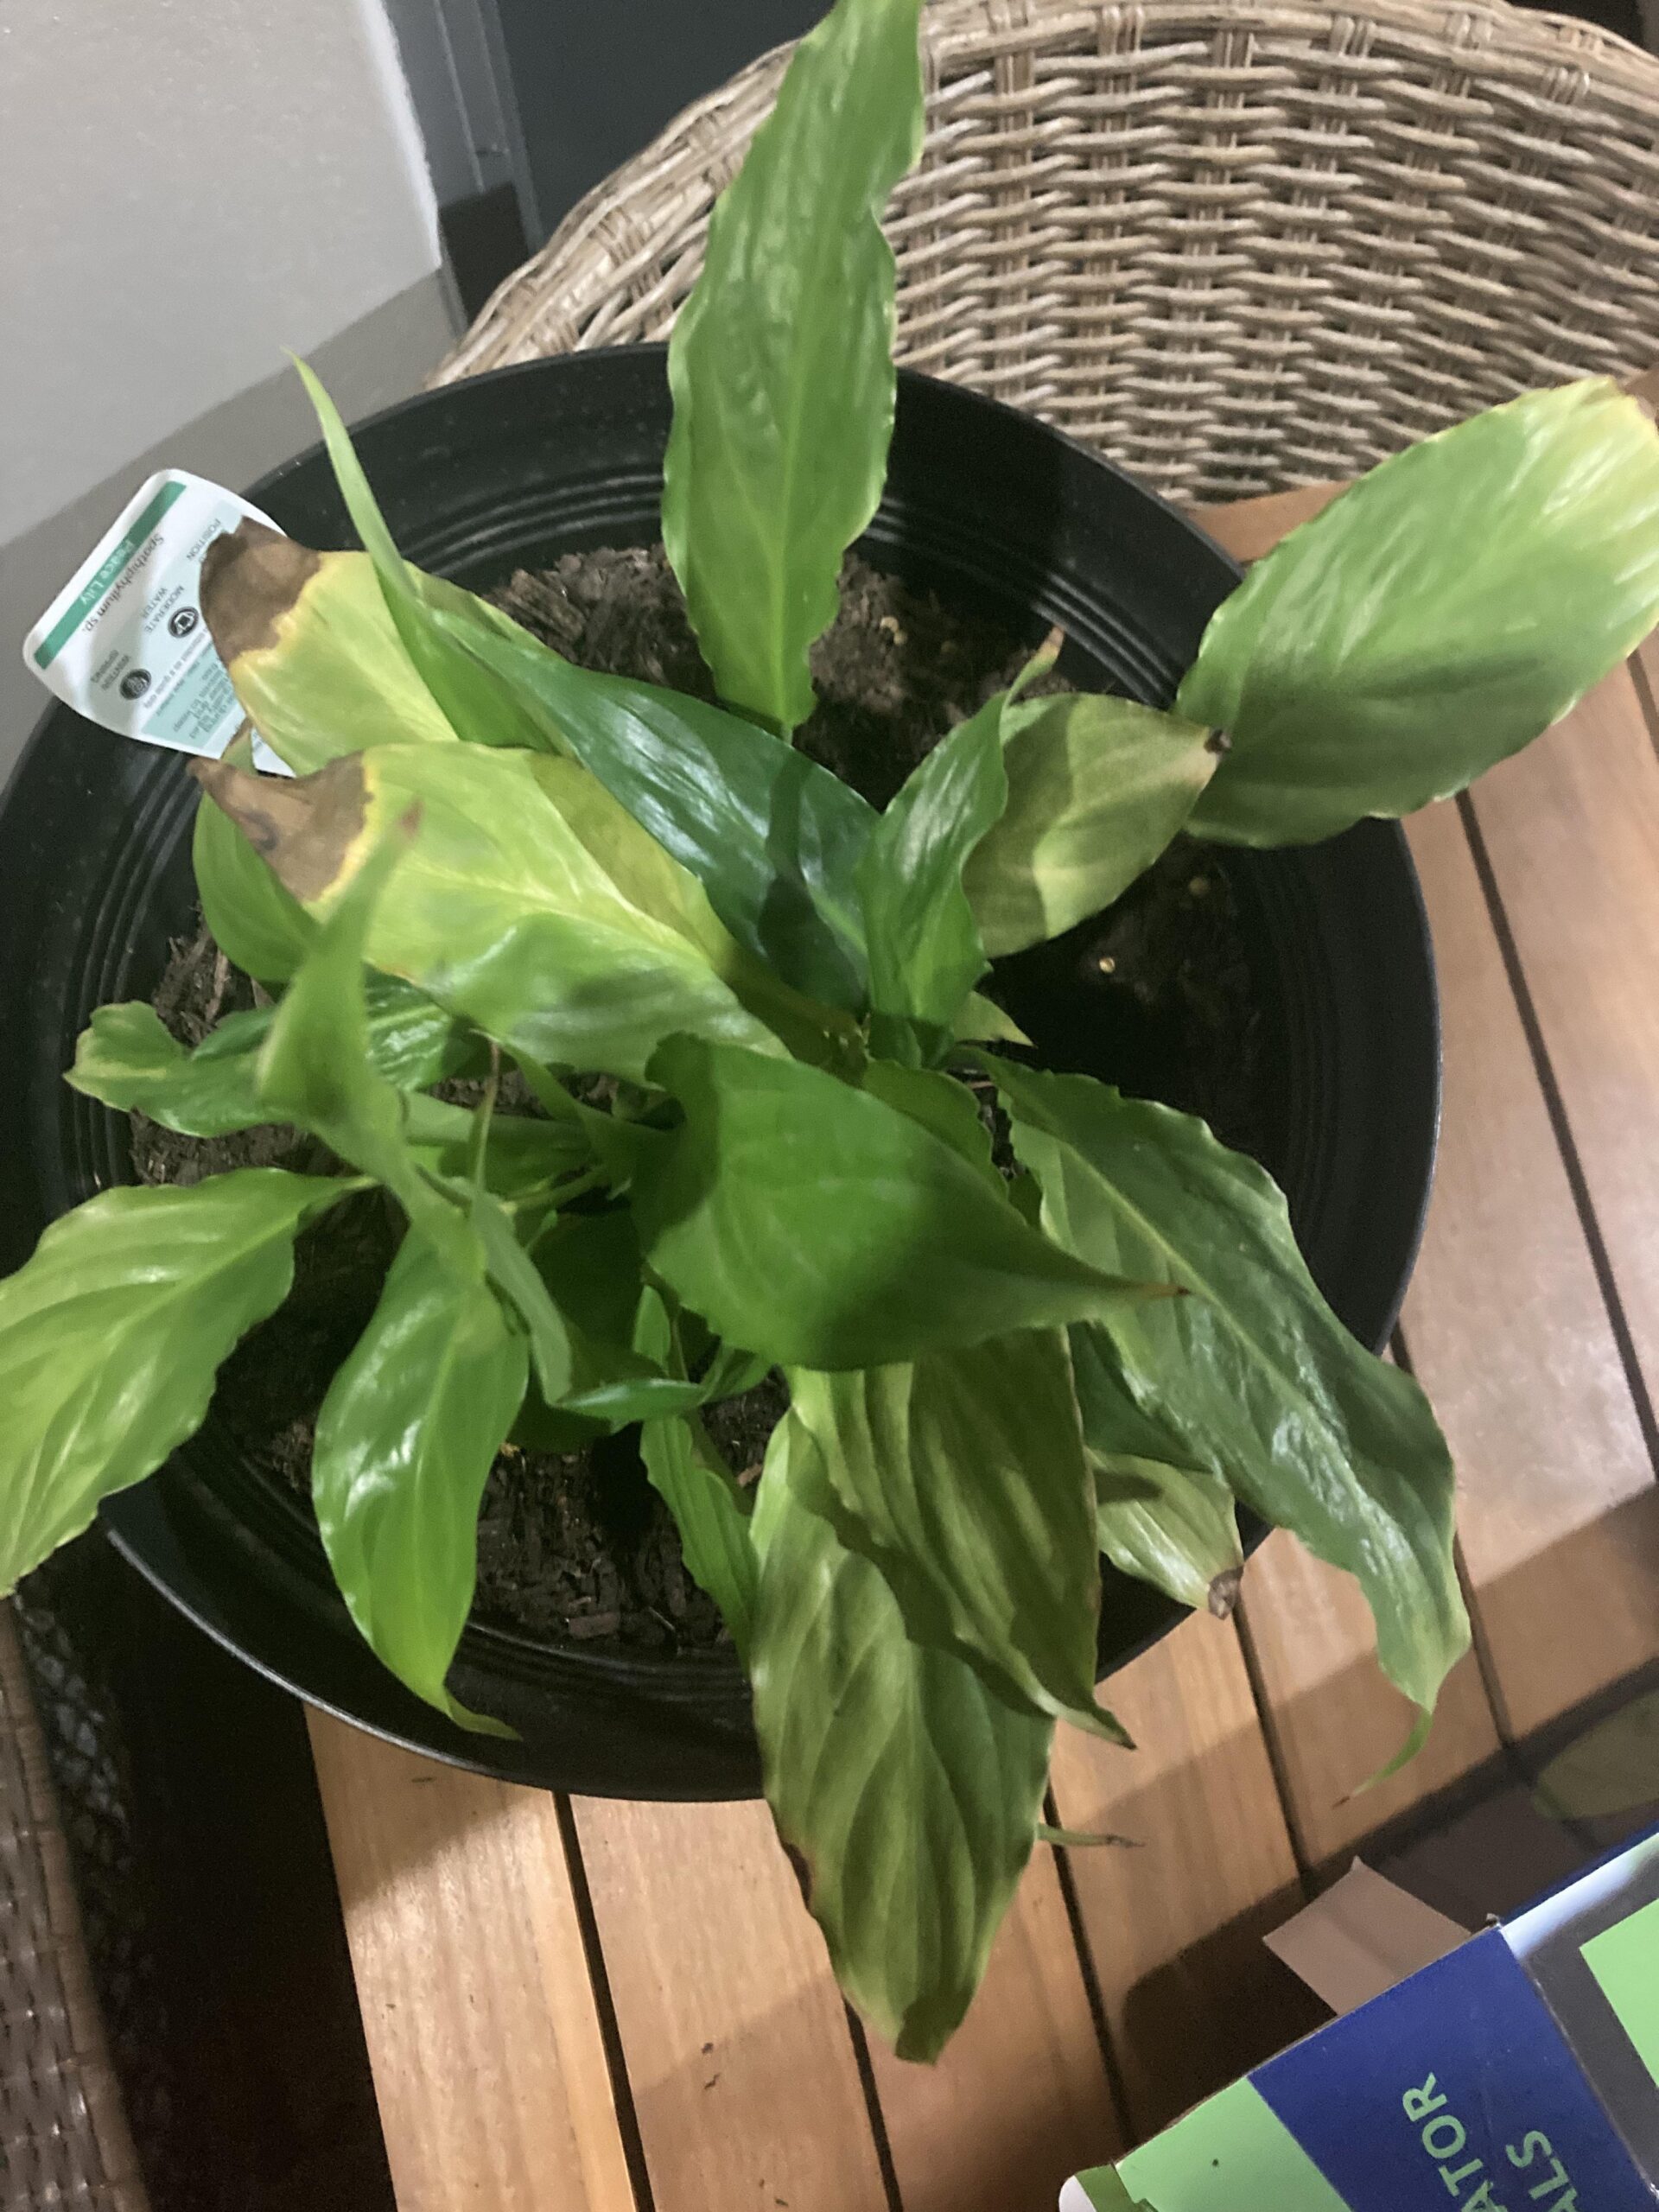
Drooping Leaves: One of the most noticeable signs of overwatering is drooping leaves. Unlike the crispiness associated with underwatering, overwatered leaves often feel mushy to the touch and may turn yellow or brown. A musty smell from the pot is another indicator (Quora).
-
Root Rot: Excessive water can lead to root rot, evidenced by weak or stunted growth. Overwatered plants often suffer from root rot, which manifests as blackened, mushy roots. This condition severely limits the plant’s ability to absorb nutrients and water.
-
Leaf Yellowing and Necrosis: The leaves, flowers, and tips may turn yellow or brown. These symptoms indicate a systemic issue due to overwatering, where the roots are suffocating due to lack of oxygen.
-
Weight of the Pot: You might also notice the pot feels unusually heavy because of the accumulated water. If you suspect overwatering, it’s advisable to carefully check the pot’s drainage system.
| Overwatering Symptoms | Indicators |
|---|---|
| Drooping Leaves | Mushy texture, yellow or brown hue |
| Root Rot | Blackened, mushy roots |
| Leaf Yellowing and Necrosis | Yellow or brown leaves, weak flowers |
| Musty Smell | Stale odor from the soil |
More tips and signs of an overwatered Peace Lily can be found in our peace lily plant yellow leaves guide.
Signs of Underwatering
Just as overwatering can be harmful, underwatering poses its own set of challenges. Knowing how to identify these signs can help maintain a healthy Peace Lily plant.
-
Drooping, Crispy Leaves: The drooping leaves of an underwatered Peace Lily will feel different from those of an overwatered one. They tend to be crispy and crunchy to the touch. This is the plant’s way of conserving moisture by reducing its surface area (Quora).
-
Dry Soil: An easy way to check for underwatering is by assessing the condition of the soil. If it’s dry to the touch, your Peace Lily needs more water.
-
Leaf Curling: Another sign is the curling of leaf edges, indicating dehydration. If left unaddressed, these leaves may eventually turn brown.
-
Wilting: When severely underwatered, the entire plant may appear wilted. Unlike overwatering, there won’t be a musty smell, and the pot will feel lighter.
| Underwatering Symptoms | Indicators |
|---|---|
| Drooping Leaves | Crispy texture, decreased moisture |
| Dry Soil | Soil is arid to the touch |
| Leaf Curling | Edges curl inward |
| Wilting | Plant appears lifeless and lightweight |
Regularly checking soil moisture and adjusting your watering routine can help prevent these issues. For more techniques on maintaining your Peace Lily, visit our guide on peace lily plant drooping leaves.
Understanding the signs of both overwatering and underwatering will help you provide optimal care for your Peace Lily plant. Adjust your watering schedule accordingly, and consider using tools like bamboo skewers to check soil moisture or electronic moisture meters for more accuracy. By addressing these issues promptly, you can ensure your Peace Lily thrives.


