Peace Lily Plant Overview
Introduction to Peace Lilies
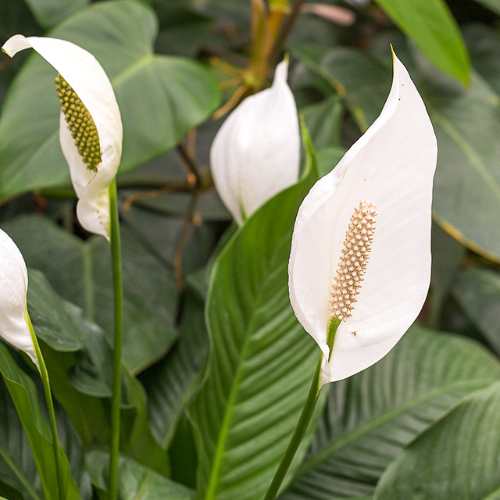
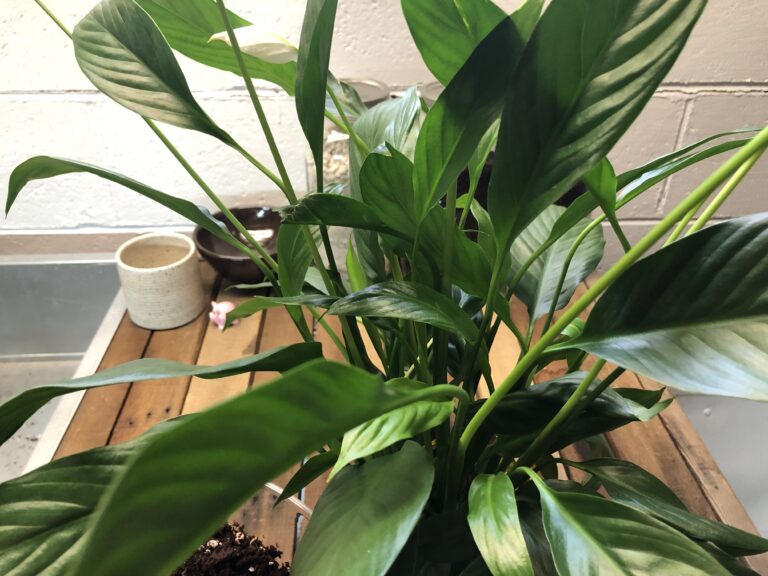
Peace lilies (Spathiphyllum) are beloved houseplants known for their lush foliage and striking white blooms. Despite their name, peace lilies are not true lilies; they belong to the Arum family. They are favored for their ability to thrive indoors with minimal care. The peace lily plant serves multiple purposes, from decorative use to acting as an air purifier, making it a popular choice among indoor gardeners.
| Plant Type | Evergreen |
|---|---|
| Bloom Color | White |
| Light Requirements | Low to moderate, bright filtered light |
| Ideal Temperature | 65-80°F |
| Humidity Preference | High |
Tropical Origins and Characteristics
Native to the tropical rainforests of Central and South America, peace lilies naturally grow on the forest floor, where they receive dappled sunlight and high humidity (Almanac). These environments are replicated indoors by placing them in bright, indirect light and maintaining consistent moisture.
Peace lilies can adapt to various light conditions. They prefer filtered sunlight and can suffer from leaf burn if exposed to direct sunlight. They also have the ability to survive in low-humidity conditions but flourish best with higher humidity levels. Peace lilies are comfortable at temperatures between 65-80°F, making them suitable for most indoor environments.
Understanding their tropical origins is key to providing optimal care. For instance, choosing the right pot and soil mix ensures they mimic their natural habitat conditions, promoting healthier and more vibrant growth.
For more information on managing common issues such as yellowing leaves or dealing with disease prevention, visit our related articles.
Common Issues and Solutions
Caring for a peace lily involves addressing common issues that may arise. Here are some typical problems and their solutions:
Yellowing Leaves and Overwatering
Overwatering is a prevalent reason for peace lily leaves turning yellow. When the soil is waterlogged, the roots become mushy, leading to yellowing leaves that may eventually spread (Epic Gardening). It’s crucial to ensure proper drainage and only water the plant when the top inch of soil is dry. For further tips, refer to our peace lily plant yellow leaves guide.
| Problem | Cause | Solution |
| – | – | – |
| Yellowing Leaves | Overwatering | Improve drainage, water only when top soil is dry |
Spotted Yellow Leaves and Pests
Spotted yellow leaves may indicate chlorosis due to a lack of chlorophyll, often caused by a nutrient deficiency, or could be a sign of pests such as mealybugs or thrips (Epic Gardening). Small, circular yellow spots usually suggest a pest infestation. Addressing these issues involves both nutrient adjustments and pest control.
| Problem | Cause | Solution |
| – | – | – |
| Spotted Yellow Leaves | Nutrient Deficiency, Pests | Supplement nutrients, apply pest control |
For more information, visit our peace lily plant diseases article.
Brown Spots and Sunburn
Brown spots on peace lily leaves can be caused by sunburn or pests, similar to those that cause yellow spots. Sunburn leads to shriveled brown spots that can spread if the plant is exposed to too much direct sunlight (Epic Gardening). To prevent this, place the plant in indirect light and monitor pest activity.
| Problem | Cause | Solution |
| – | – | – |
| Brown Spots | Sunburn, Pests | Move to indirect light, use pest control |
Check our detailed guide on peace lily plant leaves turning brown for additional insights.
Proper care, including monitoring water levels, ensuring nutrient balance, and protecting from excessive sunlight, can help maintain a healthy peace lily. For comprehensive care and repotting tips, explore our articles on peace lily plant care instructions and peace lily plant repotting.
Care and Maintenance Tips
Proper care and maintenance are vital for ensuring that a peace lily plant thrives in any pot. These guidelines will help you maintain a healthy, vibrant peace lily.
Watering Guidelines
(Peace lily plants) require consistently moist soil but should not be left in standing water. Watering is necessary when the top inch of soil becomes dry. Here are some practical watering tips:
- Test soil moisture regularly by inserting a finger about an inch deep into the soil.
- Water thoroughly when the soil starts to dry out.
- Use warm or lukewarm water, as cold water can shock the plant and cause leaf browning (Lively Root).
Soil Requirements
Peace lilies thrive in soil that retains moisture but also allows adequate drainage. A well-draining potting mix is ideal to prevent root rot. Here’s a basic soil mix recommendation:
| Soil Component | Proportion (%) |
|---|---|
| Peat moss | 40 |
| Perlite | 30 |
| Pine bark | 30 |
Ensure the soil is rich in organic matter to support the plant’s growth. Avoid using heavy or clayey soil that can retain excess water and suffocate the roots.
Light and Humidity Needs
Peace lilies adapt well to various light conditions but prefer low to moderate bright, filtered light. They thrive best when placed in bright, indirect light, such as near a north or east-facing window. Direct sunlight can cause leaf burn.
For indoor settings, artificial lighting options such as fluorescent or LED lights can be effective. Position the lights a few feet away from the plant and keep them on for 12-14 hours daily to mimic natural light conditions.
Peace lilies also require a humid environment. Maintaining the right humidity levels is crucial, especially in drier climates or during winter months when indoor air tends to be dry.
- Keep the humidity level between 40% to 60%.
- Place a humidifier near the plant or use a pebble tray filled with water.
- Mist the leaves regularly to enhance humidity levels around the plant.
By following these care and maintenance tips, gardeners can ensure that their peace lily plants remain healthy and vibrant. For more detailed care instructions, explore our section on peace lily plant care instructions.
Repotting Peace Lilies
Repotting is a crucial aspect of peace lily care, helping the plant to stay healthy and promote growth.
Ideal Repotting Time
The optimal time to repot a peace lily is during the spring. Spring’s favorable weather conditions allow the plant to wake up from its dormant state, sprout new leaves and flowers, and thrive (Lively Root). However, if necessary, repotting can also be done in late winter or early summer. In urgent situations, repotting should not be delayed as it helps in minimizing shock and potential root damage.
Generally, repotting should be done once every two years. If the plant appears distressed or unhealthy, repotting may serve as a remedial measure (Lively Root).
Suitable Pot Size and Soil Mix
Choosing the right pot size and soil mix is vital for a peace lily plant with pot. When selecting a new pot, it is important to choose one that is 1-2 inches larger in diameter than the current pot. This ensures that the plant has room to grow without being too spacious, which can lead to overwatering issues.
| Pot Size (Diameter) | Plant Stage |
|---|---|
| 6-8 inches | Young Plant |
| 8-10 inches | Mature Plant |
| 10-12 inches | Established Plant |
The soil mix should be well-draining yet moisture-retentive. A mix of equal parts peat moss, perlite, and pine bark is ideal. This combination provides the right balance, allowing the roots to breathe while retaining enough moisture to nourish the plant. Consider adding some slow-release fertilizer to the soil mix to provide a steady supply of nutrients.
For detailed instructions on the repotting process, refer to our step-by-step guide.
Internal factors like watering and light conditions also influence the plant’s health. Explore more about peace lily plant care instructions and peace lily plant maintenance for comprehensive care tips.
Best Practices for Repotting
Repotting Instructions
Repotting a peace lily is essential for its overall health and growth. Here is a step-by-step guide to ensure a successful repotting process:
-
Select the Right Time: The ideal time for repotting a peace lily is during spring, but late winter or early summer can also be suitable. This timing aligns with the plant’s natural growth cycle.
-
Prepare the Plant: Water the peace lily a day before repotting. This ensures the roots are hydrated and can handle the transition better.
-
Choose the Right Pot: Peace lilies have shallow root systems and don’t require excessively deep pots. A medium-sized pot is ideal, with enough room to accommodate the roots comfortably. The new pot should be 1-2 inches larger in diameter than the current pot (Lively Root).
-
Prepare the Soil Mix: Use a well-draining, high-quality potting mix. A mix containing peat, pine bark, and perlite is ideal. This provides the necessary drainage and aeration for the roots.
-
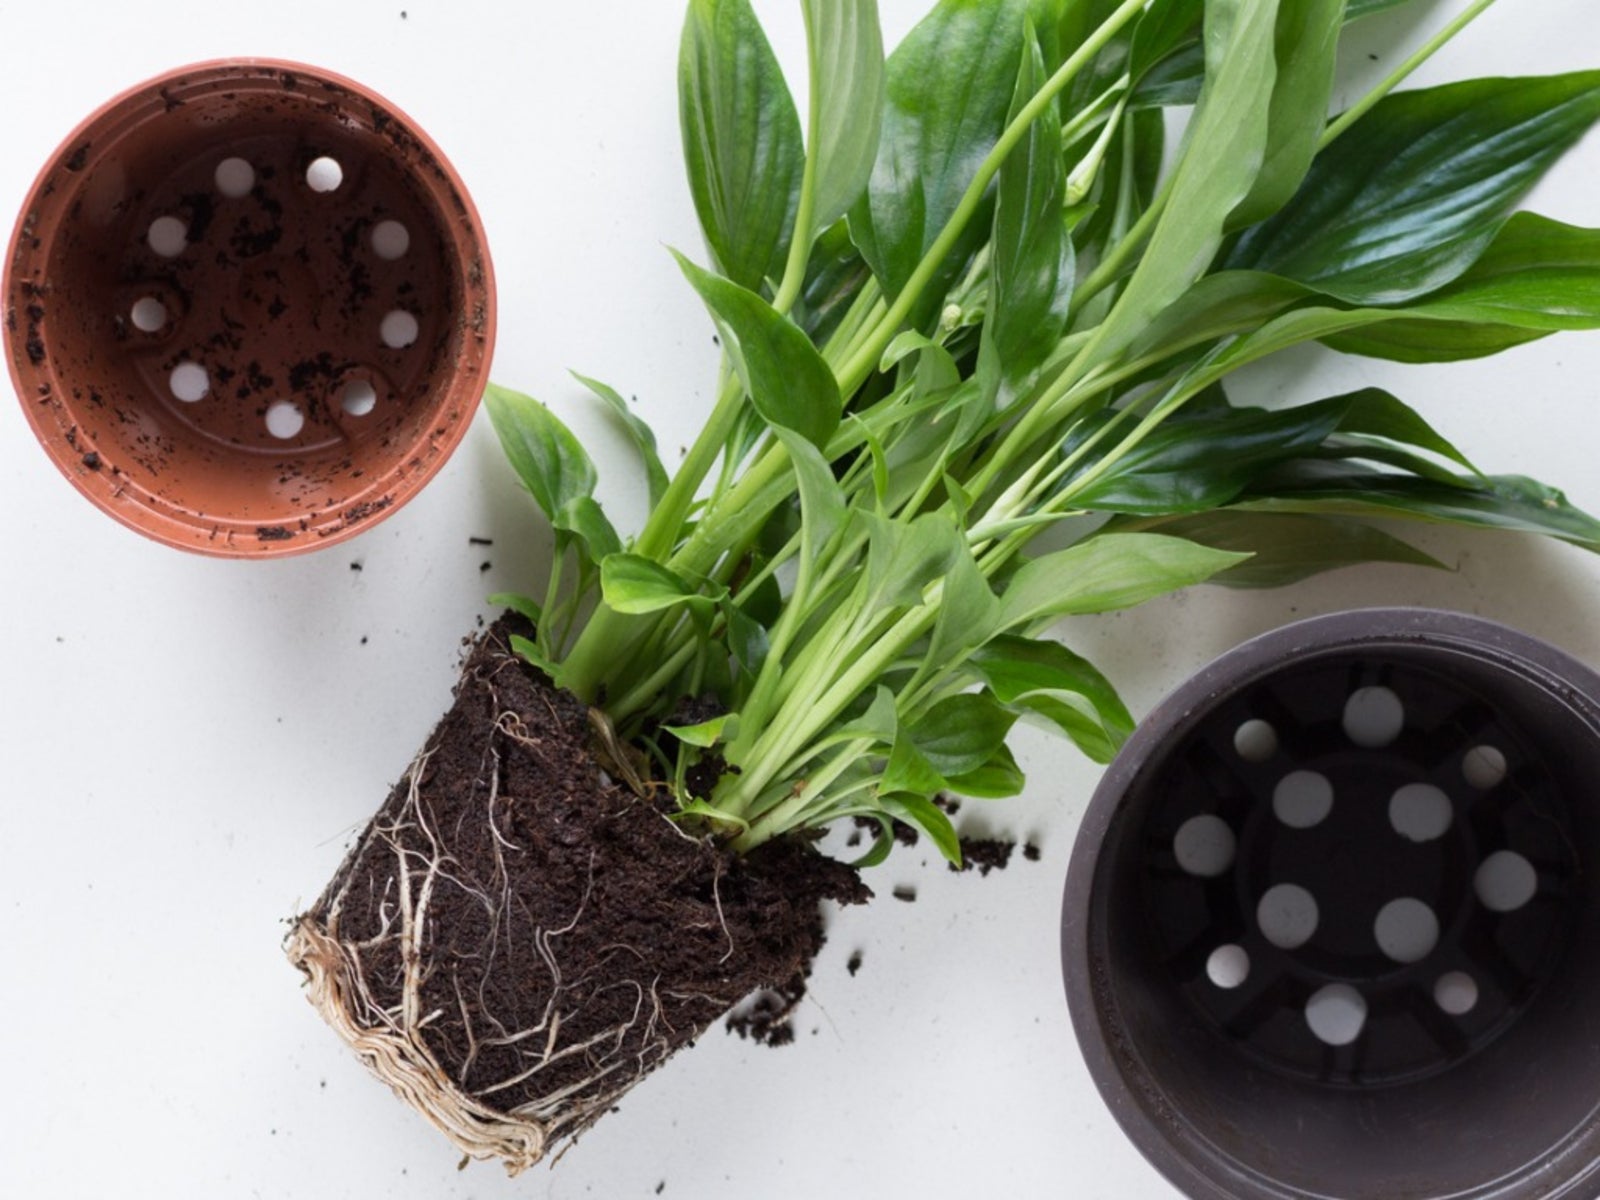
Remove the Plant from Its Old Pot: Gently tip the pot over and tap the bottom to release the peace lily. Be careful not to damage the roots. If the plant seems stuck, use a knife to loosen the sides.
-
Inspect and Trim the Roots: Check the roots for any signs of rot or disease. Trim any damaged or excessively long roots using sterile scissors.
-
Place in New Pot: Add a layer of soil mix at the bottom of the new pot. Position the peace lily in the center and fill around the roots with more soil mix. Ensure the plant is upright and the roots are well-covered.
-
Water the Plant: Water the peace lily thoroughly to settle the soil. Ensure that excess water drains out to prevent waterlogging.
-
Post-Repotting Care: Place the newly repotted peace lily in a location with indirect light and maintain consistent watering. Avoid fertilizing immediately; wait for about a month before resuming a regular feeding schedule.
Growth Acceleration Benefits
Repotting a peace lily comes with several benefits that contribute to the plant’s overall vitality and growth.
-
Enhanced Root Development: Repotting allows the roots more space to expand and grow, reducing root-bound conditions that can stifle growth.
-
Nutrient Uptake: Fresh soil mix provides essential nutrients that may have been depleted in the old soil. This boosts the plant’s ability to absorb nutrients effectively, leading to healthier growth.
-
Disease Prevention: Repotting helps remove old soil that may harbor pests or diseases. It gives a fresh start, minimizing the risk of infections such as root rot.
-
Improved Growth: A larger pot with well-draining soil mix offers better aeration and moisture control, essential for optimal growth. Repotting during spring leverages the plant’s natural growth cycle, resulting in robust and vigorous development.
For more detailed instructions and tips, visit our guide on peace lily plant repotting. Additionally, to keep your peace lily thriving, consider following our peace lily plant maintenance practices.
Disease Management
Disease prevention is essential for maintaining the health of your peace lily plant. Here are some common diseases and their management techniques for the peace lily.
Root Rot Prevention and Treatment
Root rot is a common ailment that can affect peace lilies, often caused by overwatering or poorly draining soil.
Symptoms of Root Rot:
- Yellowing of lower leaves
- Wilting foliage
- Dark brown spots on leaves and petioles
Root rot can destroy the entire root system within weeks to months, requiring the plant and soil to be disposed of. If you plan to reuse the pot, sterilize it thoroughly.
Prevention and Treatment:
- Ensure the soil has adequate drainage
- Avoid overwatering
- Dispose of affected plant and soil
- Sterilize the pot before reuse
For more details, you can check out our article on peace lily plant diseases.
Dasheen Mosaic Virus
Dasheen Mosaic Virus (DMV) is another disease to be aware of, spread by insects like aphids.
Symptoms of DMV:
- Mosaic pattern of yellow to light green on new leaves
Despite its presence, DMV may not significantly affect the growth of the peace lily but poses a risk to other houseplants.
Management of DMV:
- There is no known cure, so controlling the insect population is key
- Isolate infected plants to prevent the virus from spreading
For more on maintaining a healthy environment for your peace lily, visit peace lily plant care instructions.
Phytophthora and Pythium Root Rot
Phytophthora and Pythium root rot are severe diseases that can severely impact your peace lily.
Phytophthora Root Rot
Symptoms of Phytophthora:
- Black or brown dead spots on leaf margins and centers
Phytophthora is a water mold that spreads through splashing water and thrives in high moisture and humidity conditions.
Prevention and Treatment:
- Repot the plant using fresh soil
- Dispose of damaged foliage
- Use a soil drench with a fungicide
Pythium Root Rot
Symptoms of Pythium Root Rot:
- Yellowish and wilted leaves
- Black and mushy roots
Pythium root rot occurs in damp conditions, making proper watering and well-draining soil critical.
Prevention and Treatment:
- Ensure adequate drainage and proper watering
- Repot with fresh soil mix
- Dispose of infected soil and plant debris
Severe infections may require replacing the plant.
For practical tips on repotting, explore peace lily plant repotting.
Stay vigilant about disease management to keep your peace lily thriving.


