Spider Plant Propagation Methods
When it comes to spider plant propagation, there are two effective methods: water propagation and soil propagation. Both techniques are relatively simple and can yield great results for home gardeners.
Water Propagation Process
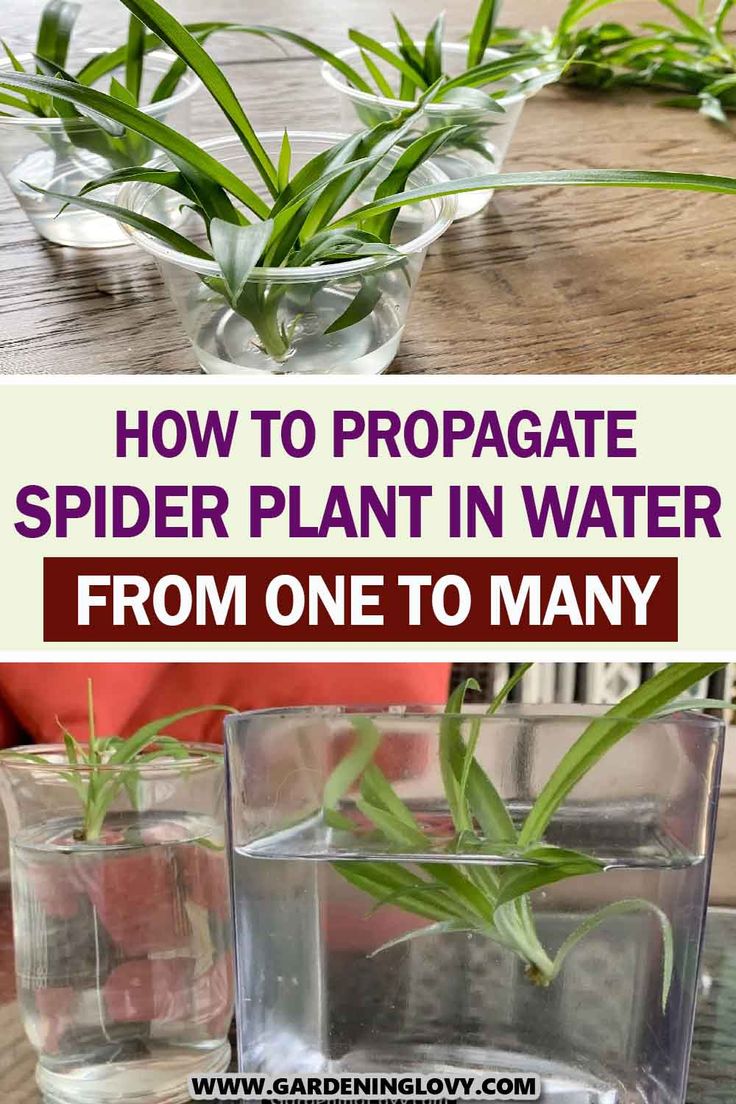
Water propagation is a popular and easy method for propagating spider plants. The process involves submerging the plantlets, or “spiderettes,” in water until roots develop and are robust enough to be transplanted into soil.
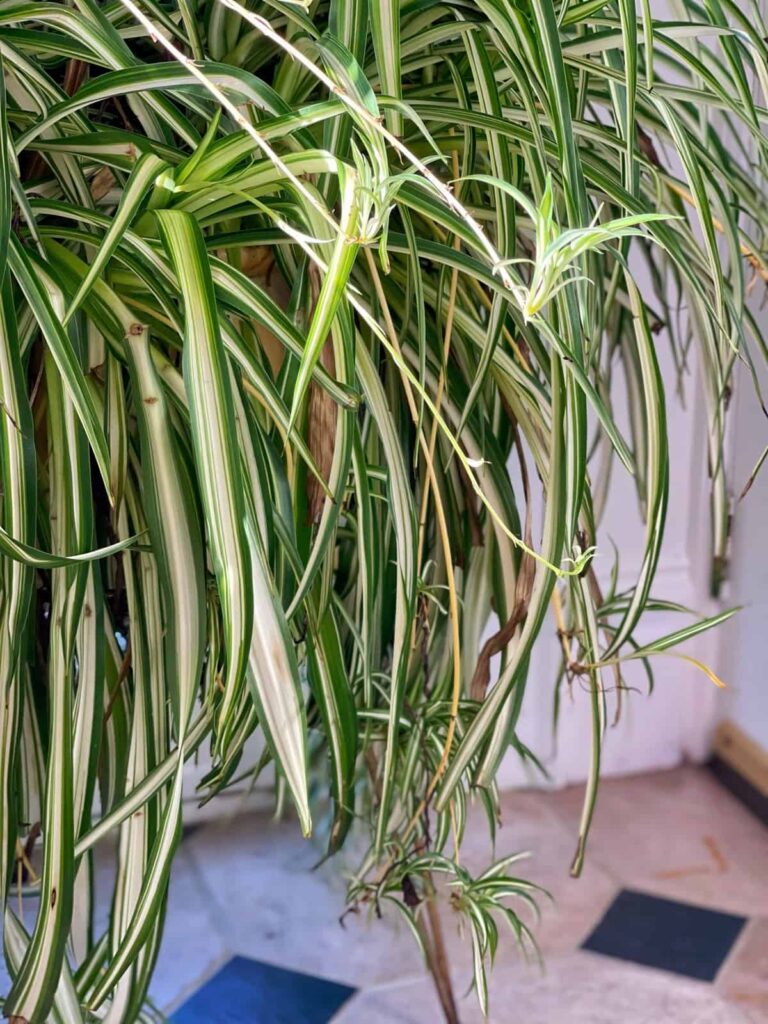
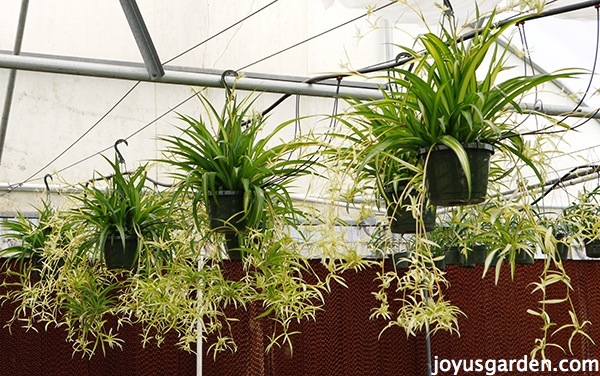
- Select a Healthy Spiderette: Choose a spiderette from the parent plant that has a few nodes, which are crucial for root development (Celebrated Nest).
- Remove the Spiderette: Carefully cut the spiderette from the parent plant, making sure to include the nodes.
- Place in Water: Submerge the nodes in a container of water. Ensure that the leaves are not submerged to prevent rotting.
- Wait for Root Development: Roots usually start forming within 7 to 10 days (The Spruce).
- Transplant to Soil: Once the roots are approximately 1-2 inches long, transplant the spiderette into soil. Initial roots may be weak and need acclimation to soil conditions.
Soil Propagation Technique
Soil propagation involves planting the spiderette directly into soil. This method encourages the development of stronger roots due to the natural resistance provided by the soil.
- Select a Healthy Spiderette: Choose a spiderette with several nodes.
- Remove the Spiderette: Cut it from the parent plant, ensuring the inclusion of the nodes.
- Plant in Soil: Insert the spiderette into a small pot filled with well-draining soil. Ensure the nodes are submerged in the soil.
- Water the Soil: Lightly water the soil to keep it moist but not soggy. Overwatering can lead to root rot (Lively Root).
- Monitor Growth: Place the pot in a well-lit area and monitor the soil moisture and light exposure. Ensure that the plant receives adequate but not excessive sunlight.
| Propagation Method | Time to Root | Advantages | Disadvantages |
|---|---|---|---|
| Water Propagation | 7-10 days | Visual monitoring of root development, faster rooting | Transplant shock, roots need acclimation to soil |
| Soil Propagation | 10-14 days | Stronger roots, immediate acclimation | Slower initial rooting, risk of overwatering |
Both propagation methods have their own benefits and challenges. Choosing the best technique depends on preference and specific plant care conditions. For additional care tips, refer to our guide on spider plant care.
Factors Affecting Successful Propagation
When propagating a spider plant, a few crucial factors can significantly impact your success. Understanding these factors ensures that your spider plant cuttings thrive and develop into healthy new plants.
Lighting Needs for Propagation
Proper lighting is essential for successful spider plant propagation. Consistent, bright, indirect light supports the cutting’s growth, providing the energy needed for root development without causing damage. Direct sunlight is too harsh and can harm cuttings by scorching the leaves or dehydrating the stem. Conversely, low light conditions fail to provide enough energy for new root systems to thrive, resulting in stunted growth.
For more in-depth information on lighting needs for your spider plants, visit spider plant light requirements.
| Conditions | Light Levels | Result |
|---|---|---|
| Direct Sunlight | High | Burns and dehydrates cuttings |
| Indirect Bright Light | Moderate | Ideal for root development |
| Low Light | Low | Insufficient energy for growth |
Water Quality Considerations
The quality of the water used for propagating spider plants plays a significant role in their success. Tap water might contain minerals, chlorine, or other additives that can hinder root growth or cause rot. Using filtered or distilled water eliminates these contaminants and promotes optimal root development (Celebrated Nest).
To further protect spider plants, particularly during water propagation, dipping cuttings in melted wax can seal the cut ends and prevent fungal formation, reducing the risk of root rot. For those using soil propagation, maintaining moisture levels without waterlogging the soil is essential to prevent root-related issues.
| Water Type | Quality | Effect on Propagation |
|---|---|---|
| Tap Water | Variable | Potential for mineral buildup and chlorine damage |
| Filtered Water | High | Ideal for root development |
| Distilled Water | High | Free from contaminants |
Understanding these factors ensures successful propagation and healthy growth of your spider plants. Explore more about handling common issues and troubleshooting in our section on spider plant care, where you can also find insights into spider plant brown tips and spider plant leaves bending.
Best Practices for Spider Plant Care
To ensure your spider plant thrives, adhering to best practices for care is essential. Proper maintenance and addressing common issues in a timely manner will help your plant grow healthily.
Maintenance Tips for Healthy Growth
-
Watering: Spider plants prefer evenly moist soil. Water them once the top inch of soil feels dry. Overwatering can lead to root rot. Ensure the pot has drainage holes to prevent water from accumulating.
-
Lighting: Provide bright, indirect light. Direct sunlight may scorch the leaves, while too little light can cause slow growth. For more information on light preferences, check our article on spider plant light requirements.
-
Temperature: Spider plants thrive in temperatures between 65°F and 75°F. They tolerate cooler temperatures but avoid exposure to frost. For more details on temperature, see our page on spider plant temperature tolerance.
-
Humidity: Maintain moderate humidity levels. During dry months, misting the plant can prevent the leaves from turning brown. Learn more at spider plant humidity.
-
Fertilization: Apply a balanced liquid fertilizer every 4-6 weeks during the growing season (spring and summer). Avoid over-fertilizing to prevent nutrient burn. For specifics, see spider plant fertilizer.
-
Pruning: Trim off any brown tips or spent flowers to encourage new growth. Pruning also helps keep the plant’s shape neat. Check our guide on spider plant pruning.
Common Issues and Troubleshooting
Brown Tips
Brown tips on leaves may indicate low humidity, inconsistent watering, or excessive fertilizer. Adjusting these factors usually resolves the issue. Refer to our comprehensive guide on spider plant brown tips.
Yellow Leaves
Yellowing leaves might be caused by overwatering, underwatering, or poor light conditions. Adjusting the plant’s care routine accordingly typically helps. For more insights, see spider plant yellow leaves.
Root Rot
Root rot often results from overwatering or poor drainage. To address it, remove affected roots and repot the plant in fresh soil with good drainage. More details can be found in our spider plant root rot article.
Pests
Spider plants can be susceptible to pests like spider mites and aphids. Regular inspection and using neem oil or insecticidal soap can help manage infestations. For more on dealing with pests, check our section on spider plant diseases.
Growth Issues
If a spider plant isn’t growing, adjust its light, water, and fertilizer regimen. Ensure it isn’t pot-bound; if it is, consider repotting. Explore our troubleshooting tips at spider plant not growing.
| Common Problem | Possible Cause | Remedy |
|---|---|---|
| Brown Tips | Low humidity, inconsistent watering, excess fertilizer | Adjust care routine |
| Yellow Leaves | Over/underwatering, poor light | Adjust watering, light |
| Root Rot | Overwatering, poor drainage | Remove affected roots, repot |
| Pests | Spider mites, aphids | Use neem oil, insecticidal soap |
| Stunted Growth | Inadequate light, nutrition, pot-bound | Adjust settings, repot |
Following these best practices will help ensure that your spider plant remains healthy and vibrant. For more in-depth guidance, explore our spider plant care resources.
Benefits of Spider Plant Propagation
Propagating spider plants offers numerous advantages for gardeners. Two of the primary benefits include enjoying a lush indoor garden and creating personalized gifts with propagated plants.
Enjoying a Lush Indoor Garden
Propagating spider plants allows gardeners to enhance their indoor greenery effortlessly. By utilizing various propagation methods, such as water or soil propagation, one can multiply their spider plant collection quickly (Lively Root).
The following table showcases the propagation methods and their respective advantages:
| Propagation Method | Advantages |
|---|---|
| Water Propagation | Faster root initiation, simple process |
| Soil Propagation | Stronger root system, more stable growth |
| Division | Rejuvenates parent plant, multiplies collection |
By following these methods, gardeners can cultivate a thriving indoor garden with minimal effort. For detailed steps on each of these techniques, refer to our sections on Water Propagation Process and Soil Propagation Technique.
Personalized Gifts with Propagated Plants
Spider plant propagation also provides an opportunity to create unique and thoughtful gifts. Propagated plants can serve as personalized presents that convey care and effort. By rooting spider plantlets, individuals can offer friends and family a piece of their indoor greenery.
Personalized gifts made through propagation can be enhanced with decorative pots or labels, making them even more special. This adds a personal touch that is both meaningful and environmentally friendly.
For guidance on maintaining healthy and vibrant propagated plants, explore our tips on spider plant care and maintenance tips for healthy growth. Additionally, troubleshooting common issues such as spider plant brown tips or yellow leaves ensures that the propagated gifts remain a cherished part of any indoor garden.
By embracing spider plant propagation, gardeners can enrich their indoor spaces and share the joy of gardening with loved ones.


