Spider Plant Growth Rate
Understanding the growth rate of a spider plant is essential for gardeners aiming to ensure their plant is mature and thriving. Key aspects include the maturation timeline and growth milestones.
Maturation Timeline
Spider plants, including the curly spider plant, typically reach full maturity within approximately 1 to 2 years. This timeframe can vary depending on several factors such as care practices, environmental conditions, and pest management (Greg App).
| Growth Stage | Time Frame |
|---|---|
| Seed Germination | 2 – 4 weeks |
| Vegetative Phase | 3 – 6 months |
| Full Maturity | 1 – 2 years |
For gardeners interested in the propagation methods during the early stages, you can explore our guide on spider plant propagation.
Growth Milestones
Under optimal conditions, spider plants typically grow 6 to 12 inches per year. Key milestones during this period include the transition from juvenile to mature foliage and an increase in offset production as the plant matures (Greg App).
| Milestone | Expected Time Frame |
|---|---|
| Transition to Mature Foliage | 6 – 12 months |
| First Flowering Event | 12 – 18 months |
| Increase in Offsets | 12 – 24 months |
During the vegetative growth phase, which lasts between 3 to 6 months, spider plants require bright, indirect sunlight. While they can tolerate lower light conditions, their growth will slow down significantly (Greg App). Maintaining the right light conditions is crucial for healthy growth. More detailed information can be found in our article on spider plant light requirements.
For gardeners looking to prolong the lifespan of their spider plant, it’s essential to understand that with optimal conditions, these plants can enjoy a lifespan of 5 to 10 years (Greg App). For more tips on ensuring your spider plant remains healthy and vigorous over the years, check out our section on spider plant care.
By monitoring these milestones and following the suggested care guidelines, gardeners can ensure their spider plant is not only growing at a healthy rate but also thriving as it matures.
Factors Influencing Spider Plant Size
Understanding the factors that influence the size of a spider plant can help in ensuring its health and maturity. Several aspects contribute to the growth and overall size of this popular indoor plant.
Environmental Conditions
The environment plays a crucial role in the growth and size of spider plants. Spider plants thrive best under certain conditions, and various environmental factors can either promote or hinder their development.
-
Light Requirements: Spider plants prefer bright, indirect light for optimal growth. While they can tolerate low light, insufficient light can stunt their growth. Learn more about specific spider plant light requirements.
-
Temperature and Humidity: These plants thrive in warm, humid conditions. Spider plants should be kept in temperatures between 60°F and 75°F and protected from drafts and air-conditioning vents. For more details, see spider plants’ temperature tolerance.
-
Watering and Soil: Consistent watering is essential, but overwatering can lead to issues like root rot. The soil should be well-draining to avoid waterlogging. Spider plants also benefit from occasional misting to maintain humidity.
-
Fertilization: Regular feeding with an all-purpose fertilizer once a month during the growing seasons (spring and summer) can enhance plant health and growth. Avoid fertilizing in winter when the plant is semi-dormant. Discover more [spider plant fertilizer] recommendations.
A table for environmental conditions:
| Environmental Factor | Optimal Condition |
|---|---|
| Light | Bright, indirect |
| Temperature | 60°F – 75°F |
| Humidity | High |
| Soil | Well-draining |
| Watering | Consistent, avoid overwatering |
Genetics and Care
The genetic makeup of the spider plant and the manner in which it is cared for are equally important in determining its size and growth rate.
-
Genetic Variability: Spider plants come in a variety of cultivars, each with unique characteristics and potential sizes. For instance, certain spider plant species are naturally smaller or more compact in their growth habit.
-
Pruning: Regular pruning during the spring and early summer can help manage the plant’s size and maintain its appearance. Pruning encourages a bushier and more vibrant plant. For methods, visit our guide on spider plant pruning.
-
Repotting: To prevent a spider plant from becoming root bound, repotting is necessary. Moving the plant to a larger pot allows for continued growth and prevents stunted development. A detailed repotting guide can be found here.
-
Care Practices: Proper watering, feeding, and attention to light conditions are essential to caring for a spider plant. Neglecting these care practices can result in stunted growth or other issues such as brown tips on the leaves.
By understanding and managing these factors, gardeners can ensure that their spider plants remain healthy and reach their full potential in size and maturity. For more detailed information on enhancing the growth rate of spider plants, refer to our section on spider plant growth rate.
Managing Spider Plant Size
Properly managing the size of a spider plant is crucial for maintaining its health and appearance. This can be achieved through effective pruning and repotting practices.
Pruning Techniques
Pruning spider plants during the spring and early summer can help keep them looking vibrant and bushy. Regular pruning removes dead or yellowing leaves and trims back unruly growth, enhancing the plant’s overall shape and health.
Steps for Pruning:
- Identify Dead or Dying Leaves: Look for leaves that are brown or have yellow tips.
- Use Clean, Sharp Scissors: Ensure your pruning tools are sanitized to prevent the spread of diseases.
- Cut Close to the Base: Trim dead leaves and stems as close to their base as possible without harming the healthy parts of the plant.
- Shape the Plant: Trim back overgrown sections to achieve a balanced, symmetrical appearance.
Regular pruning helps maintain the plant’s aesthetic and promotes new growth, keeping the spider plant healthy and thriving.
Repotting Guide
Repotting spider plants every two to three years is recommended to promote healthy root development and prevent the plant from becoming root-bound (The Spruce).
Steps for Repotting:
- Choose a New Pot: Select a container that is no more than 1/3 larger than the current root ball.
- Prepare the Plant: Water the plant thoroughly a day before repotting to ease the removal process.
- Remove the Plant: Gently take the plant out of its old pot. If it’s stuck, carefully loosen the roots from the pot’s edge.
- Trim the Roots: Inspect the roots and trim any that are diseased or excessively long.
- Settle in a New Pot: Place the plant in the new pot with fresh potting mix. Ensure the roots are well-covered but not compacted.
- Water and Adjust: Water the plant well and place it in a suitable location with appropriate light requirements.
| Repotting Frequency | Container Size | Best Time |
|---|---|---|
| Every 2-3 Years | 1/3 Larger than Root Ball | Spring and Early Summer |
Following these steps not only helps in healthy growth but also allows for better management of space and resources. For further detailed guidance on spider plant repotting, check out our comprehensive guide.
Managing the size of spider plants through proper pruning and repotting practices ensures a lush and well-rounded plant. It also promotes a healthy environment that allows for the plant’s natural beauty and growth potential to shine. Further details on spider plant care can be found in the spider plant care section.
Spider Plant Flowering Process
The flowering process in spider plants is a significant indicator that the plant is mature and thriving. Understanding the characteristics of these flowers and their role in reproduction can help gardeners appreciate and manage the beauty of their plants.
Flower Characteristics
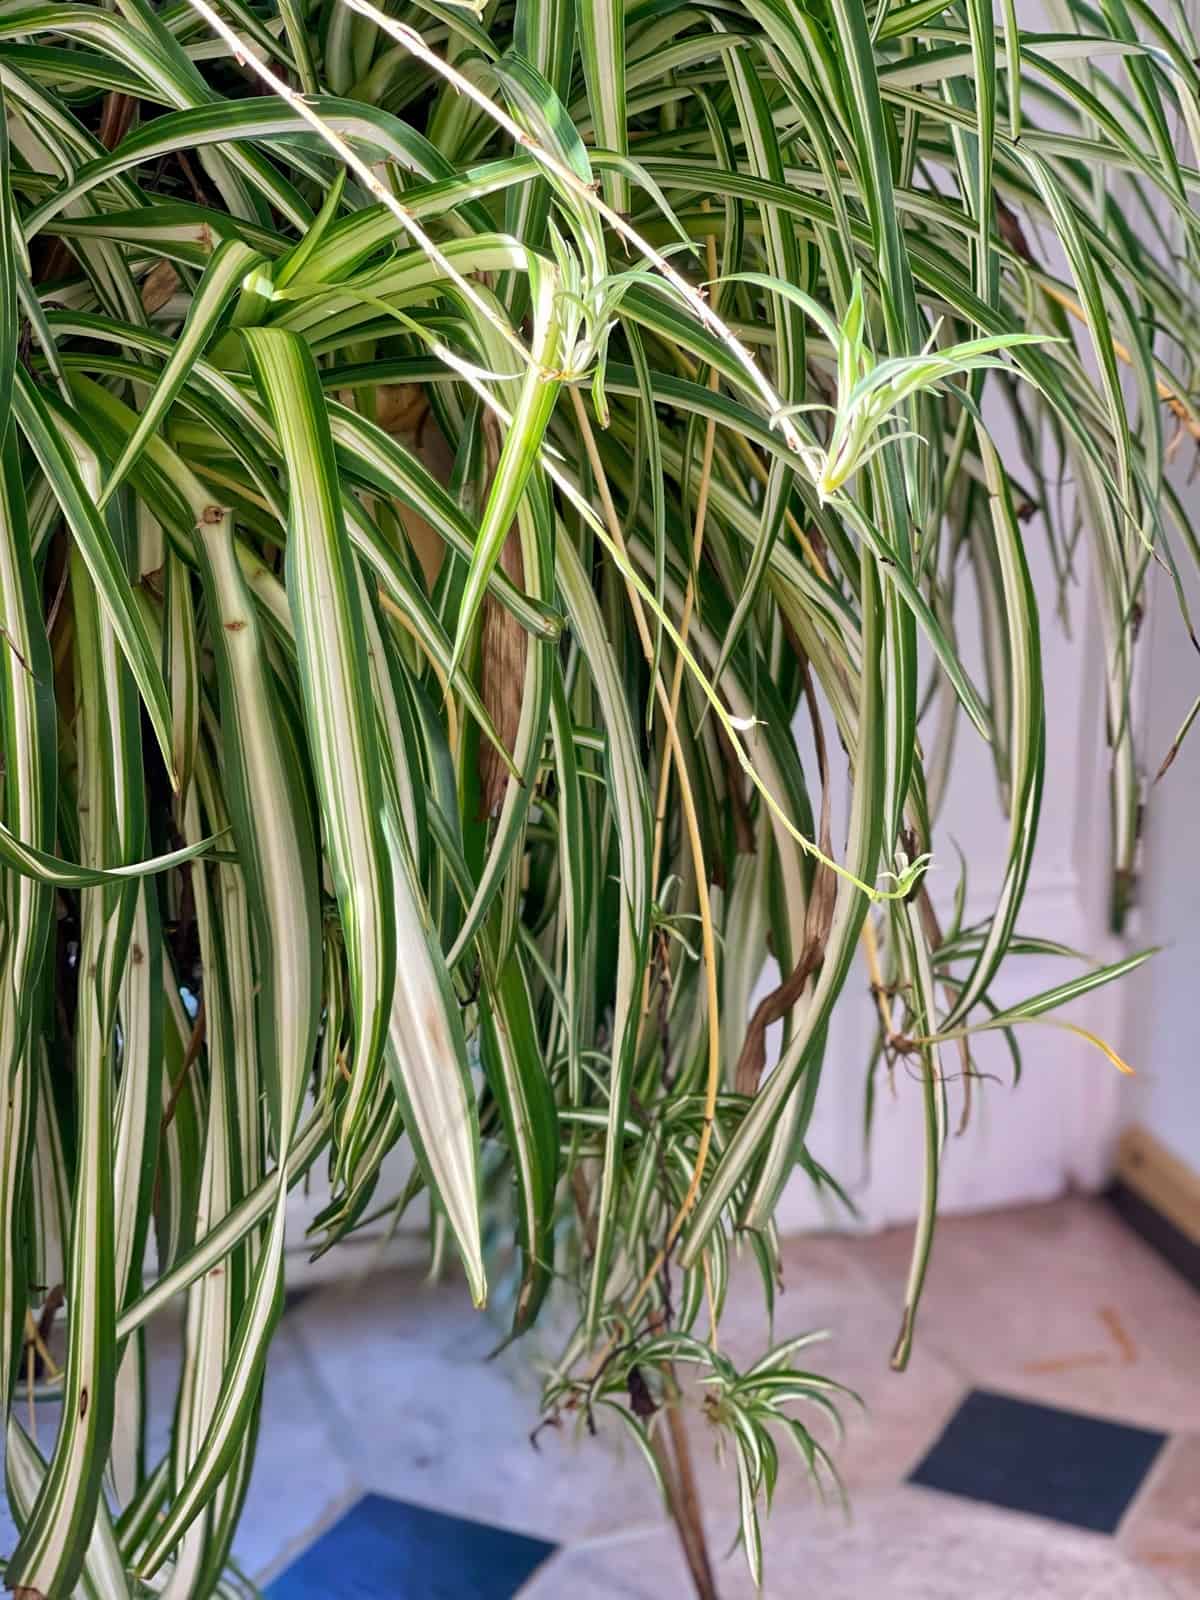
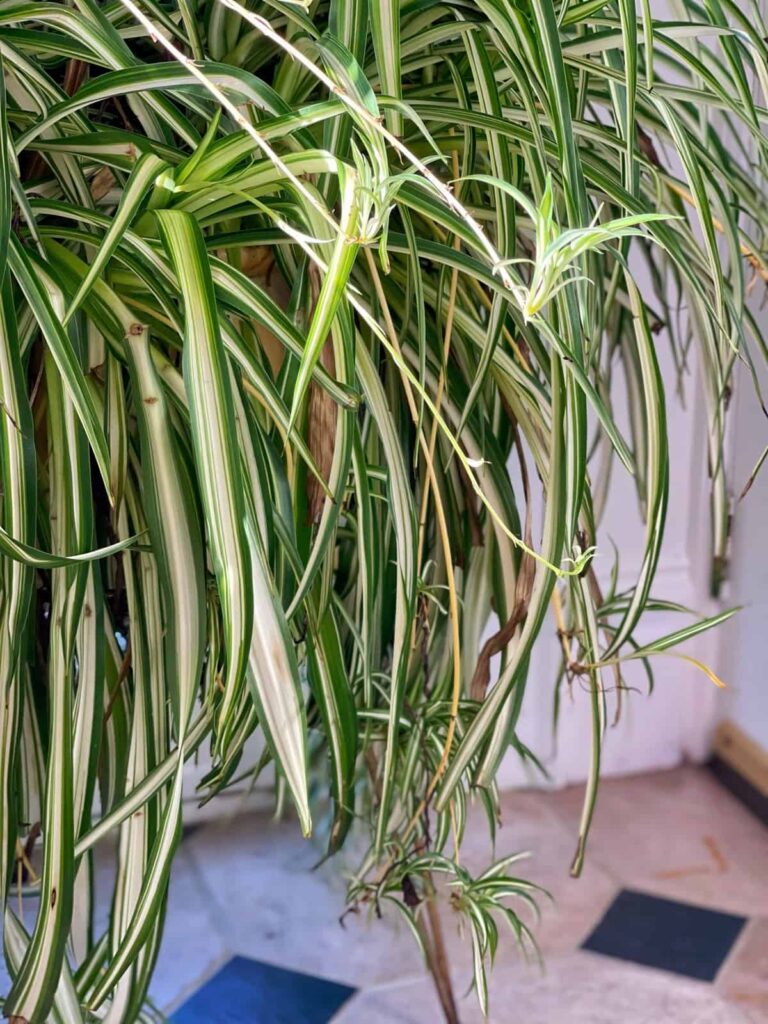
Mature spider plants typically send out long stems that bear small, star-shaped flowers. These stems can reach impressive lengths, arching gracefully from the main plant body. Spider plant flowers are usually white and have 3 to 6 petals (The Spruce).
| Flower Characteristics | Details |
|---|---|
| Shape | Star-shaped |
| Color | White |
| Petals | 3 to 6 |
| Location | Long, arching stems |
The appearance of flowers is a sign of plant health and readiness to reproduce. Variegated spider plant flowers, in particular, are noted for their small size and distinctive shape (Gregarious, Inc.). For more detailed information on the types of spider plant flowers, you can explore our article on spider plant flowers.
Reproduction Through Spiderettes
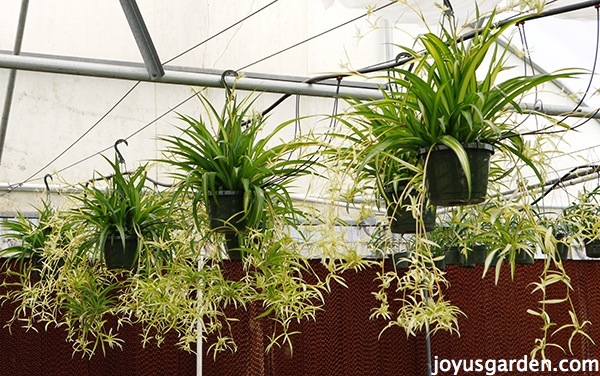
Once the flowers fall off, tiny plantlets, also known as spiderettes, form in their place. These plantlets are miniature versions of the parent plant and will eventually grow their own roots. This indicates that the spider plant is reproducing asexually and is a sure sign of maturity (Haxnicks).
| Reproduction Aspect | Details |
|---|---|
| Method | Asexual reproduction |
| Formation | Spiderettes develop from fallen flowers |
| Growth | Spiderettes grow their own roots |
Spiderettes can be snipped off and planted separately to create new spider plants. This method of propagation is straightforward and ensures that the new plants are genetically identical to the parent. For gardeners interested in this process, the detailed steps can be found in our spider plant propagation guide.
By understanding the flowering process and reproduction through spiderettes, gardeners can better manage and enjoy their spider plants. Observing these signs of maturity not only signifies a healthy plant but also provides opportunities for propagation and sharing the beauty of spider plants with others. For additional care recommendations, see our article on spider plant care.
Prolonging Spider Plant Lifespan
Longevity Factors
Spider plants are perennials capable of flourishing for many years, with a typical lifespan of around 20 years and some varieties living up to 50 years under optimal care conditions. There are key factors influencing the longevity of a spider plant:
- Environmental Conditions: Spider plants thrive in environments that mirror their natural habitat. Proper lighting, temperature, and humidity are crucial.
- Genetic Makeup: The genetic characteristics of a spider plant can impact its resilience and lifespan.
- Care Practices: Routine maintenance like pruning, repotting, and appropriate watering schedules ensure plant health.
- Nutrient Storage: Spider plants have rhizomes that store water and nutrients, enabling them to withstand periods without frequent watering and fertilization.
Care Recommendations
For a spider plant to mature and thrive over many years, several care practices should be performed consistently:
- Lighting: Provide bright, indirect sunlight for optimal growth. Read more about spider plant light requirements.
- Temperature and Humidity: Keep the plant in a stable temperature range of 65-75°F and maintain high humidity (Epic Gardening). For more information, see spider plant temperature tolerance and spider plant humidity.
- Watering: Water the plant when the top inch of soil is dry. Avoid overwatering to prevent root rot.
- Fertilizing: Apply a balanced liquid fertilizer every 2-4 weeks during the growing season. Over-fertilization should be avoided to prevent harm. Find out more in our spider plant fertilizer guide.
- Pruning: Regularly trim dead or discolored leaves to promote healthy growth. Learn more in our spider plant pruning section.
- Repotting: Repot the spider plant every 1-2 years to accommodate its growing roots and prevent it from becoming root bound. Detailed steps can be found in our spider plant repotting guide.
By focusing on these care aspects, gardeners can significantly prolong the lifespan and health of their spider plants. Ensuring proper environment, genetic appreciation, and consistent care practices will allow your spider plants to mature beautifully and live long, thriving lives.
Propagating Spider Plants
Understanding how to propagate spider plants can not only expand your indoor garden but also ensure a healthy and thriving spider plant population. Mature spider plants often produce “spiderettes” or “pups,” ready to be nurtured into new plants.
Propagation Methods
Propagation involves separating the spiderettes from the mother plant. These spiderettes are new plant offshoots that may be used to grow a full-fledged plant. There are various methods to ensure successful propagation.
1. Water Propagation:
- Cut: Trim off the small plant from the runner stem of the mature spider plant.
- Place in Water: Place the bottom end of the trimmed spiderette in a glass of water. Ensure only the stem touches the water.
- Root Development: Roots typically develop in 2–4 weeks.
- Plant: Once roots have grown, transfer the spiderette into a pot with soil and water regularly.
2. Soil Propagation:
- Cut: Trim the spiderette from the runner stem.
- Plant: Directly plant the base of the spiderette into a pot with moist, well-draining soil.
- Support: Use toothpicks or garden staples to hold the spiderette in place until roots establish.
- Water: Keep the soil consistently moist but not waterlogged during the initial rooting phase.
| Method | Supplies Needed | Time to Root Development |
|---|---|---|
| Water Propagation | Glass of water, scissors | 2–4 weeks |
| Soil Propagation | Pot, soil, toothpicks/garden staples, scissors | 3–6 weeks |
For more detailed guidance, check out our comprehensive spider plant propagation guide.
Planting Tips
Transitioning your propagated spiderette to soil requires careful attention to ensure successful growth. Consider the following tips:
- Soil: Use well-draining potting mix to prevent root rot.
- Watering: After planting, water the soil thoroughly and maintain consistent moisture. Avoid overwatering to prevent root rot.
- Light: Place the newly potted spiderette in bright, indirect light. Avoid direct sunlight, which can cause leaf burn.
- Humidity: Ensure good humidity levels to support the development of the young plant. If needed, use a humidity tray or mist the leaves occasionally. Learn more about this in our article on spider plant humidity.
- Support: Use stakes or support structures if the spiderette struggles to stand upright. This helps it establish a strong root system.
| Factor | Importance | Recommendation |
|---|---|---|
| Soil | Prevent root rot | Well-draining potting mix |
| Water | Maintain moisture | Consistent, thorough watering |
| Light | Promote growth | Bright, indirect light |
| Humidity | Support development | Humidity tray or misting |
| Support | Ensure upright growth | Stakes or structures |
By mastering these propagation methods and planting tips, gardeners can nurture spider plants. For additional plant care recommendations, explore resources like spider plant care and spider plant repotting. Nurturing a spider plant to maturity brings the added joy of propagating new plants from the thriving “mother” specimen.


